


Mounting plate for Arduino
While having a breadboard with your microcontroller is necessary, it is very cumbersome if the two aren't fastened together somehow. You can buy mounting plates, but I choose to make one.
I am using thin plexiglass type glazing material from the hardware store. You can use the thicker material, but may have to purchase longer screws for stand-offs depending on what you use.
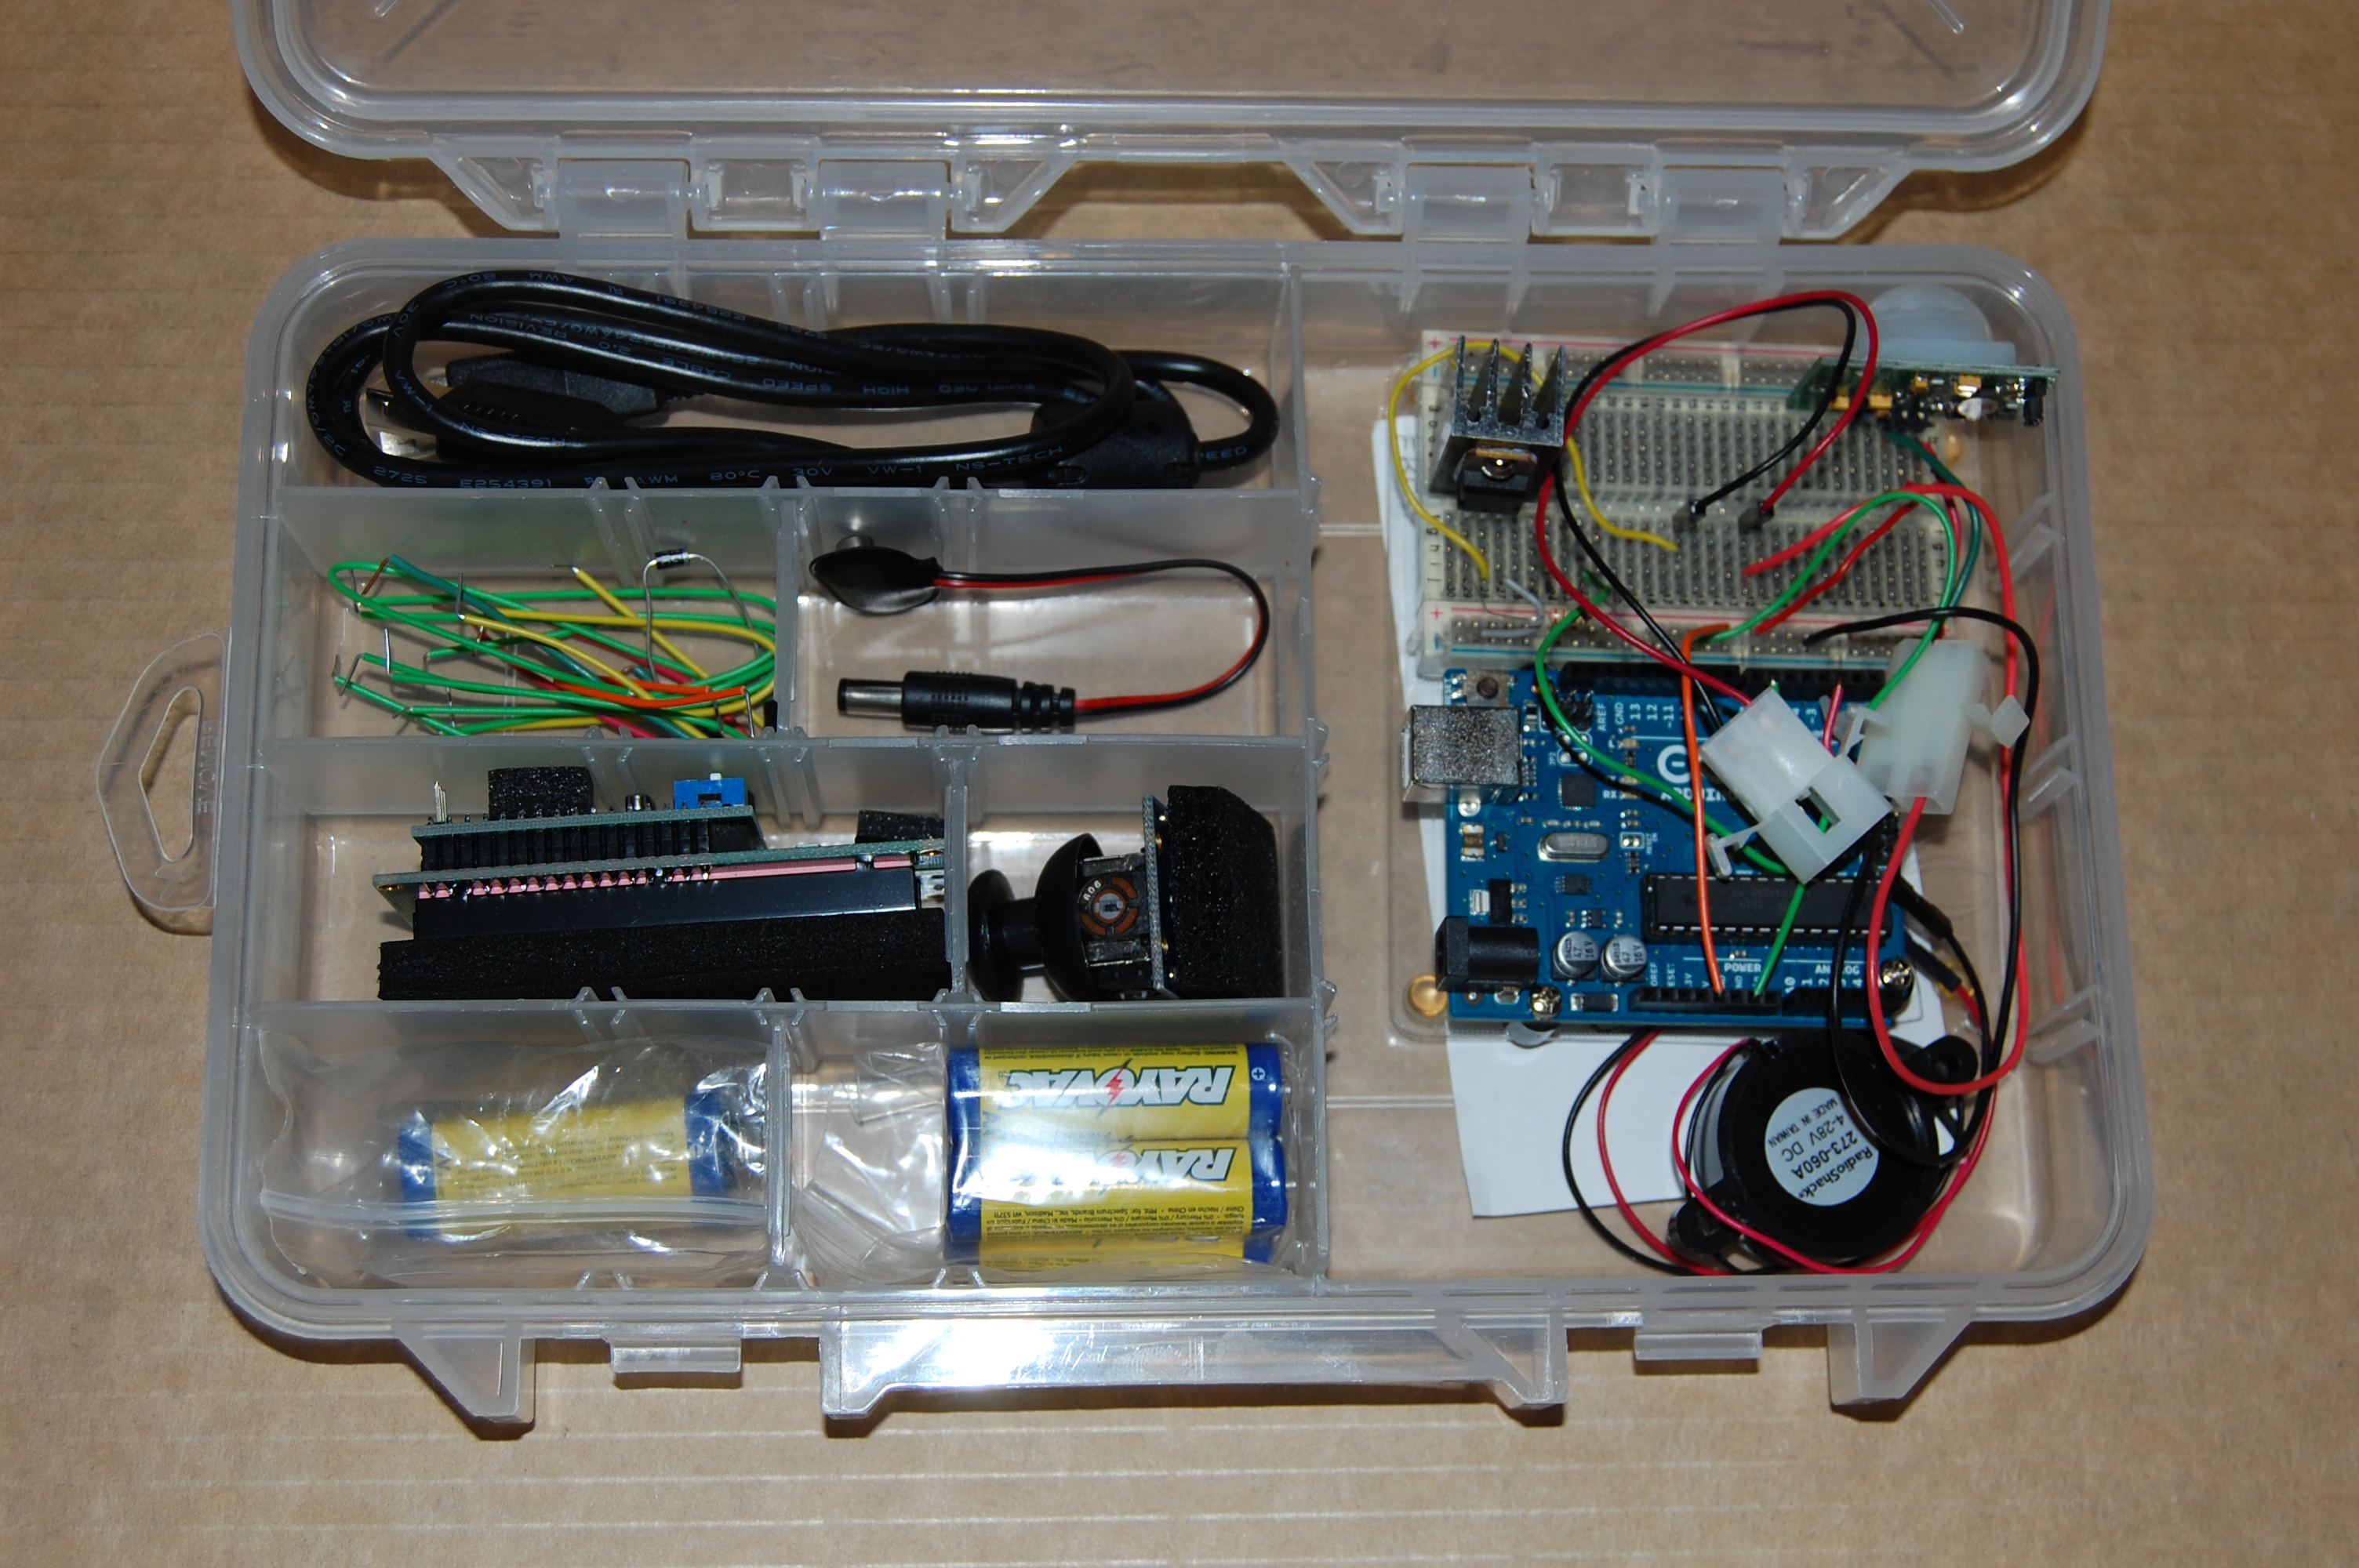
I like using the small Plano tackle boxes, because they can hold the plate, a few parts, batteries and a programming cable.
I measure the plate to fit in the large compartment and mark the board.
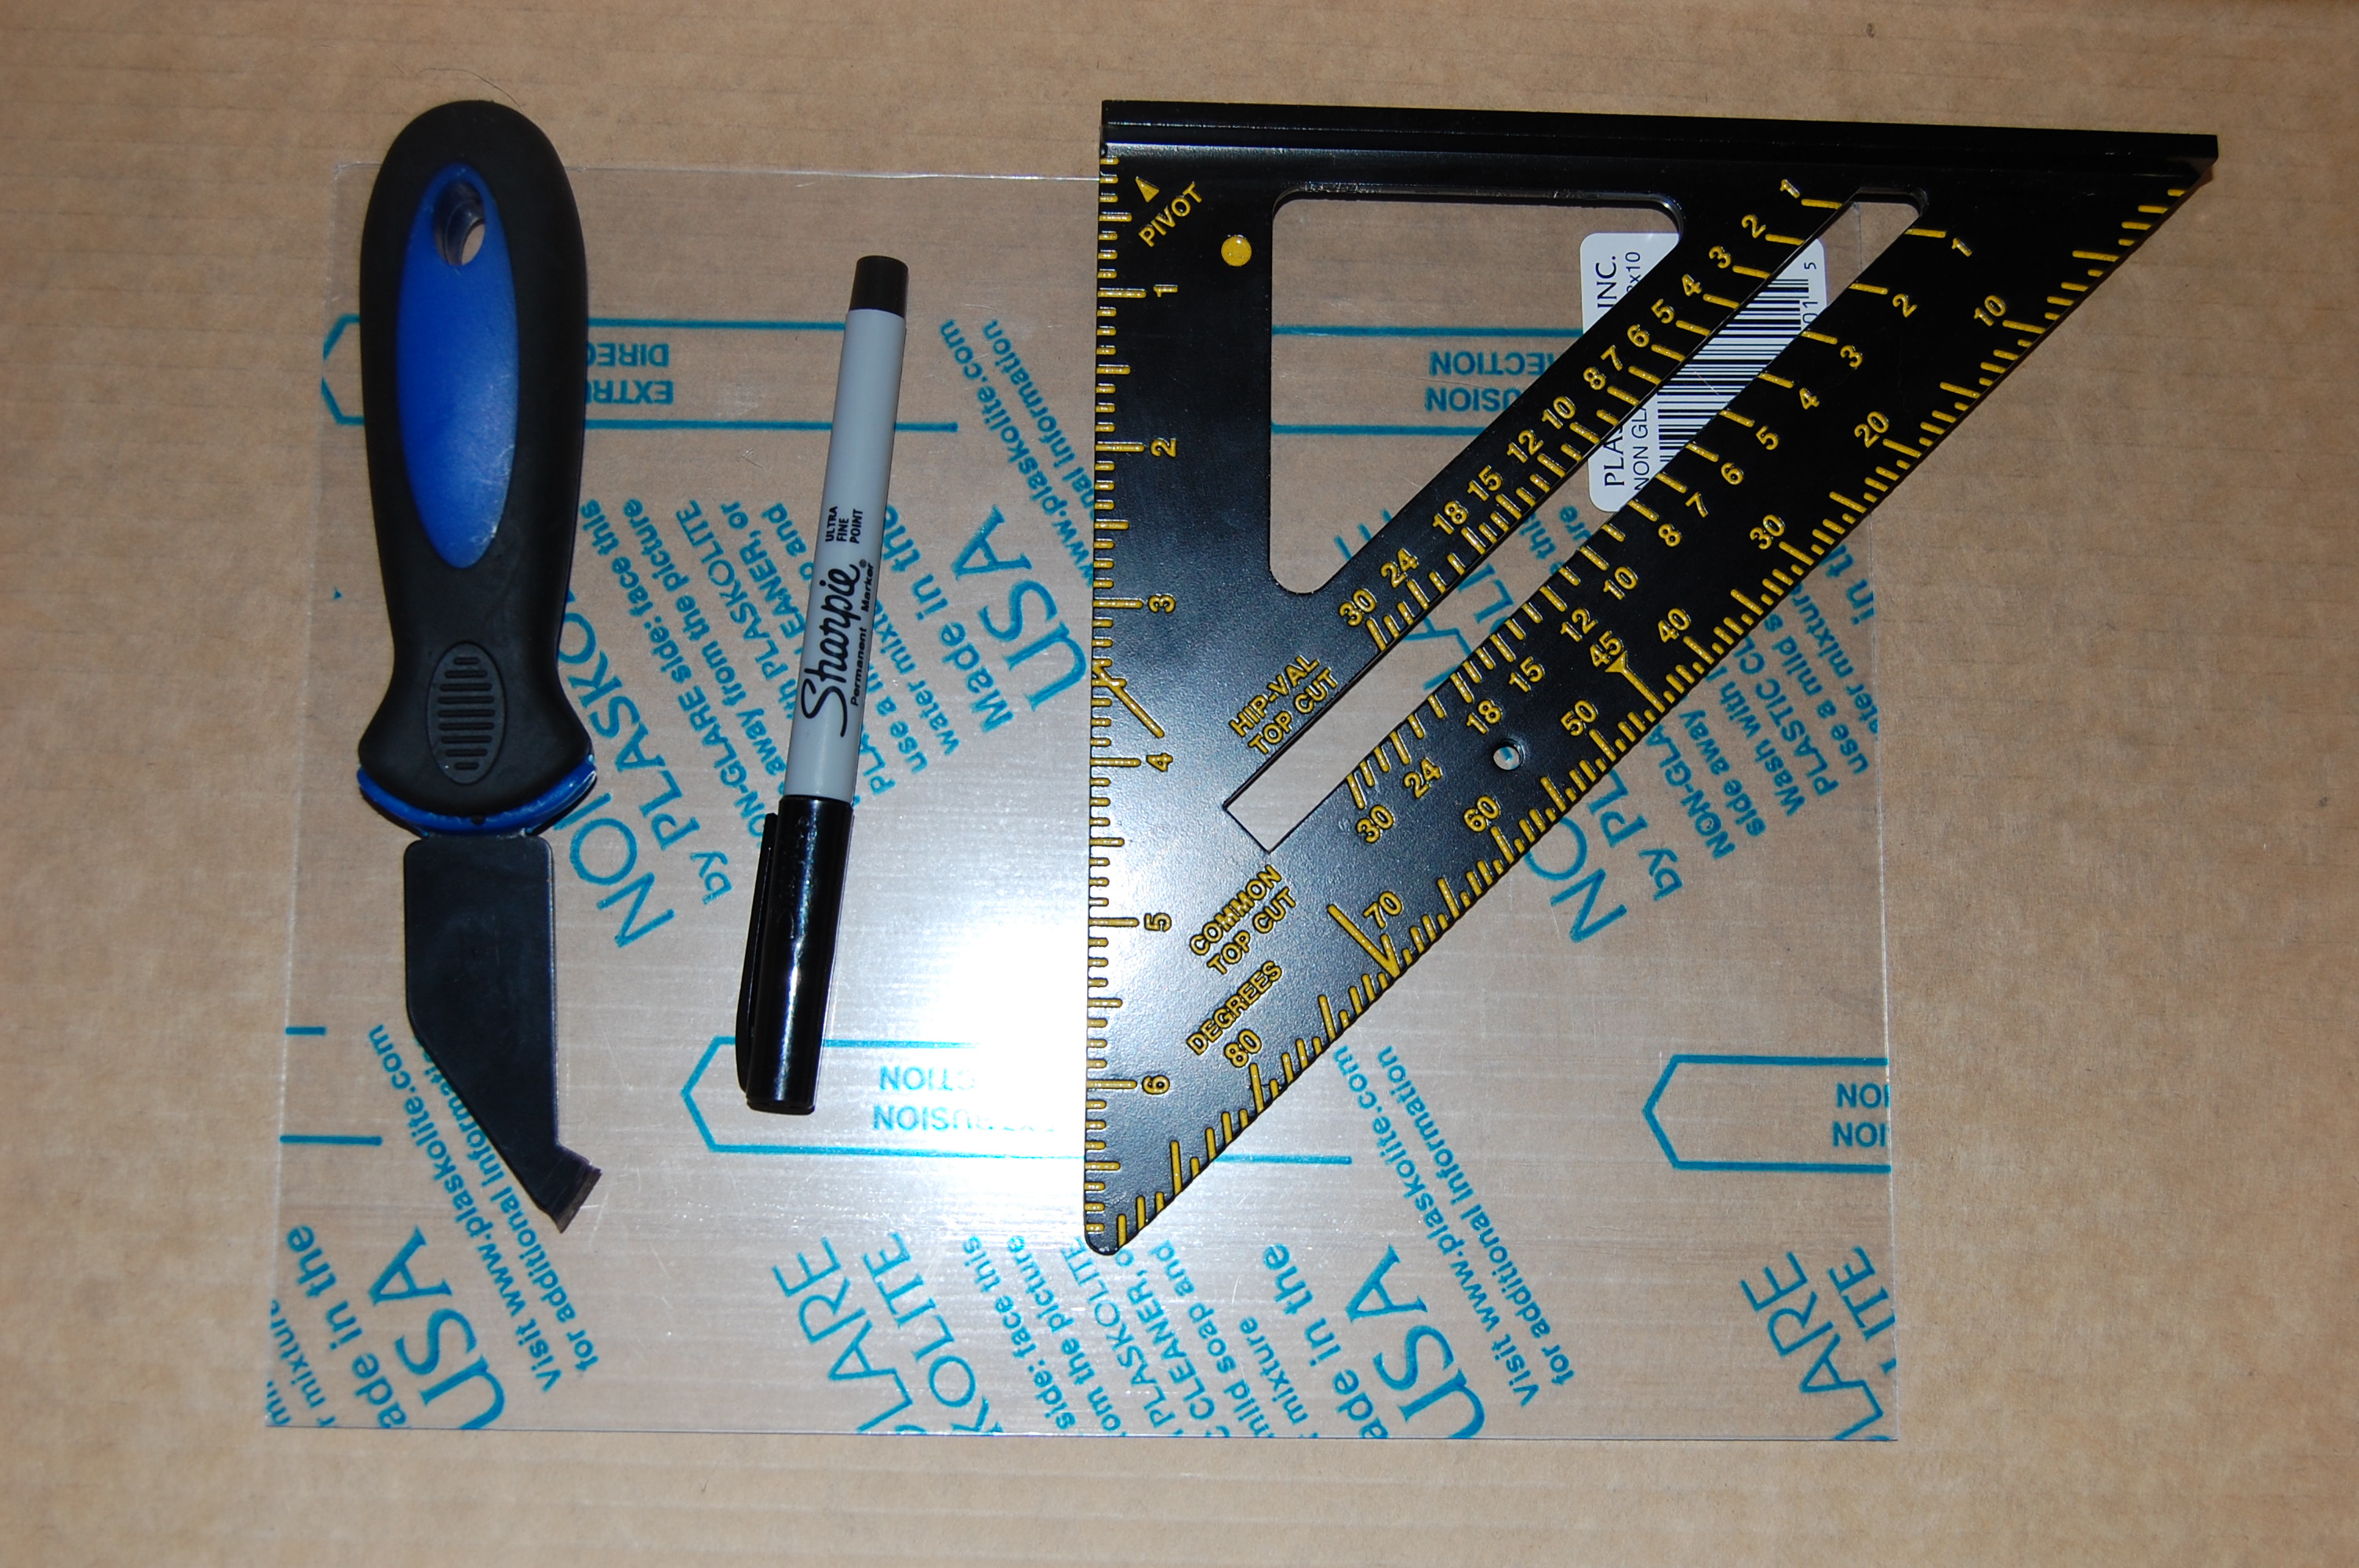
Using a speed square as a guide, pull the cutter across the board to make a groove. Then, snap the material along the groove and take a file to smooth the edges.
For the Arduino, you can use the guide: https://www.adafruit.com/datasheets/arduino_hole_d... to mark the holes.
I used a step drill to drill the holes.
I used standoffs from Radio Shack, which leads to the problem I encountered.
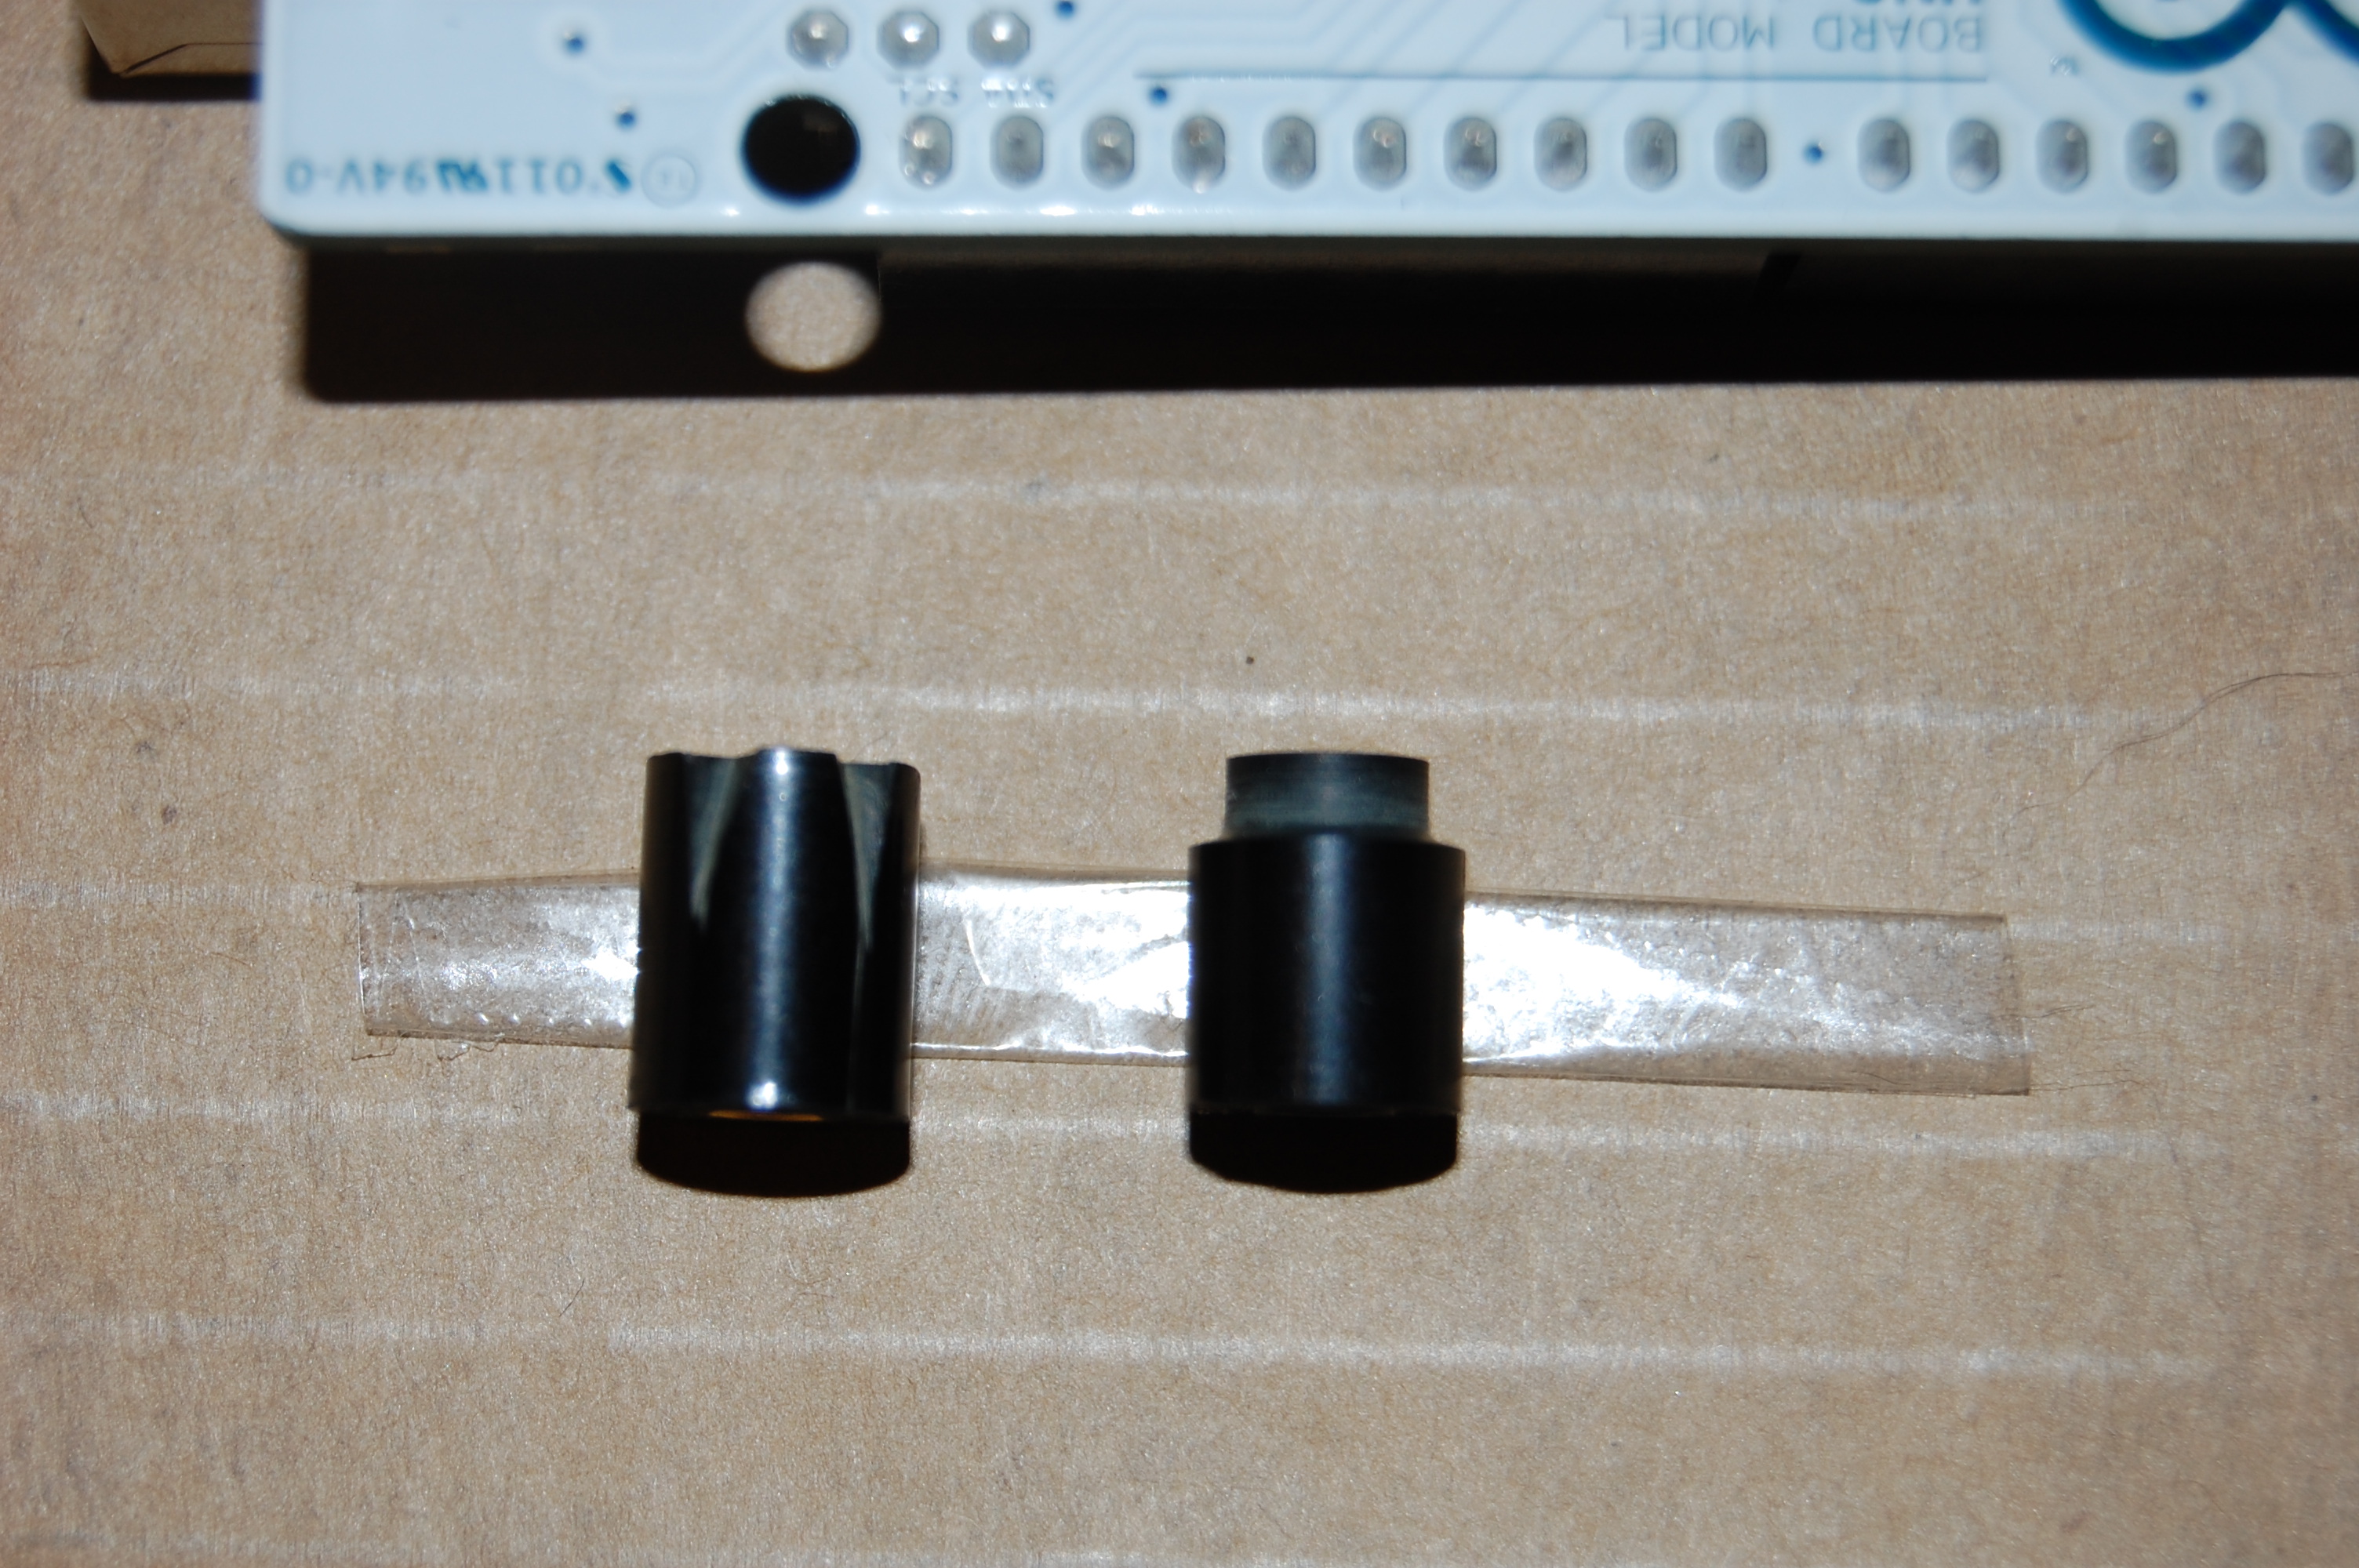
1. The regular 10mm standoffs are really wide. The Arduino Uno has leads close to the mounting holes. Solution 1: You can take a file (left) and files notches to clear the leads. Solution 2: If you have access to advanced equipment like a lathe, you can turn down the diameter to fit (right). Solution 3: You can make your own mounts using a lathe and taps. Solution 4: You can get mounts from somewhere else.
2. The 10mm mounts that Radio Shack sells are metric thread. They sell SAE machine screws. In order to get longer machine screws, you will need to find a hardware store that sells 3mm metric screws.
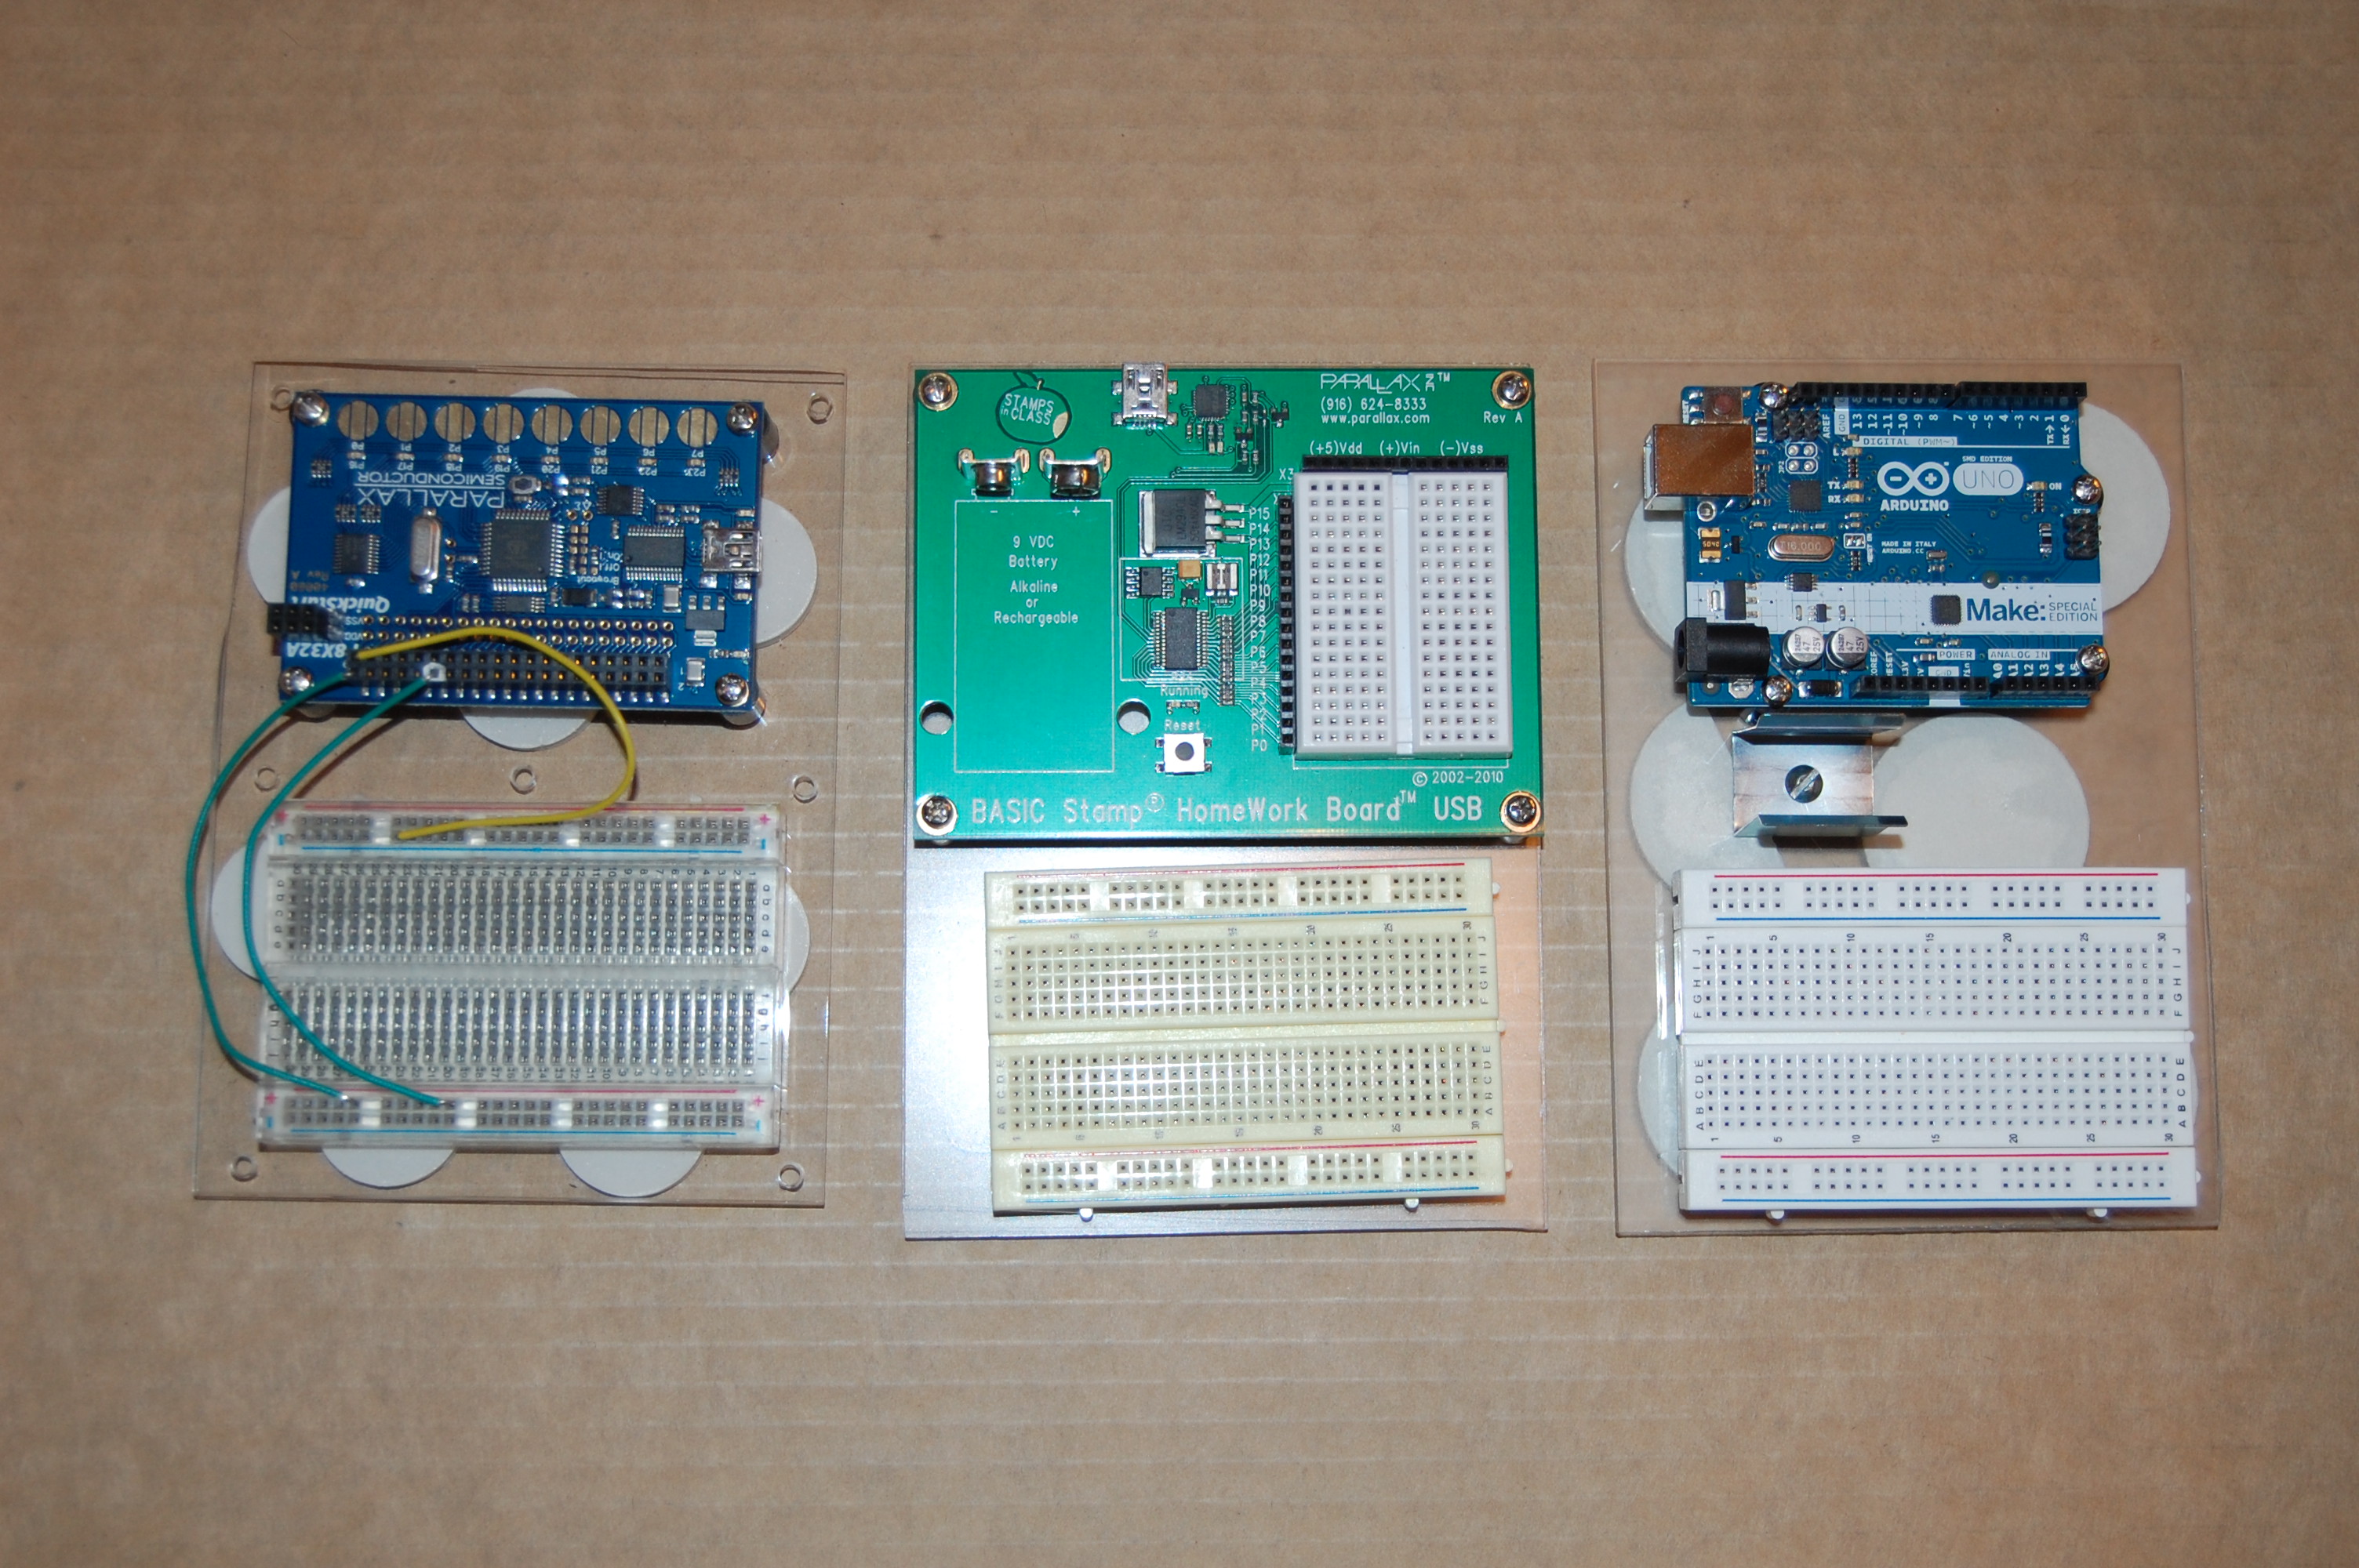
You can put non-slip "feet" on the bottom to make the board more level and not have it rest on the screw heads. I put a couple under the breadboard area so it has less give when you push wires in.
Making a mounting plate will help you in the long run by helping to prevent wires from pulling out of the breadboard when you move it.
The same idea can be applied to the Parallax Propeller, Basic Stamp, and possibly other boards.


- Comments
- Write a Comment Select to add a comment
To post reply to a comment, click on the 'reply' button attached to each comment. To post a new comment (not a reply to a comment) check out the 'Write a Comment' tab at the top of the comments.
Please login (on the right) if you already have an account on this platform.
Otherwise, please use this form to register (free) an join one of the largest online community for Electrical/Embedded/DSP/FPGA/ML engineers: